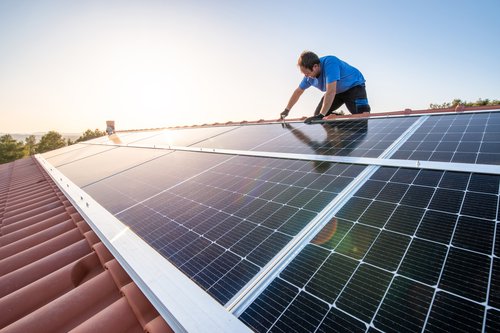
How to add solar panels to your roof
Think you might want to try solar panels? Here are the steps to take.
1. Research viability of your roof
To start, the Solar Energy Technologies Office has several mapping services that can indicate the viability of solar with your neighborhood and roof.[7]
Alternatively, explore solar co-ops and Solarize campaigns. Rather than going it alone, you can join together with groups of homeowners to negotiate rates, select the right installer and generate buzz about solar throughout the neighborhood. If more neighbors participate in a solar program, it reduces the overall cost of installation for everyone.
According to the U.S. Office of Energy Efficiency & Renewable Energy, solar panels work best on south-facing roofs with a slope between 15 and 40 degrees, though other roofs may be suitable.[8]
2. Research installers
If you decide solar is right for you, you’ll work with a professional that’s certified to install solar panels on your roof. This is not a case of DIY vs. professional; while solar companies are working on more easily attachable panels, they aren’t available to purchase right now. Until they are, use a professional to ensure everything is set up correctly. Much like with comparing insurance, don’t be afraid to shop around for the best quote and financing options for you. Sometimes the original installer of the panel will over warranties or ongoing maintenance plans for new systems.
3. Map out your system
Next, figure out how many solar panels you need. Most homes require about 20-25 solar panels, but that can vary based on the location of your home, personal energy consumption habits and panel power and efficiency. EnergySage offers a more in-depth guide to determine the total number.[9] Your installer can provide a lot of expertise here in terms of racking, location of panels and also things you might want to add on like battery storage. If you have an electric vehicle, you will likely have higher home energy needs.


