How 3D-printed homes are built

While it may seem far-fetched to squeeze a home out through a printer, 3D-printing technology has made it possible. Below we explain how the process works, from the blueprint to the finishing touches.
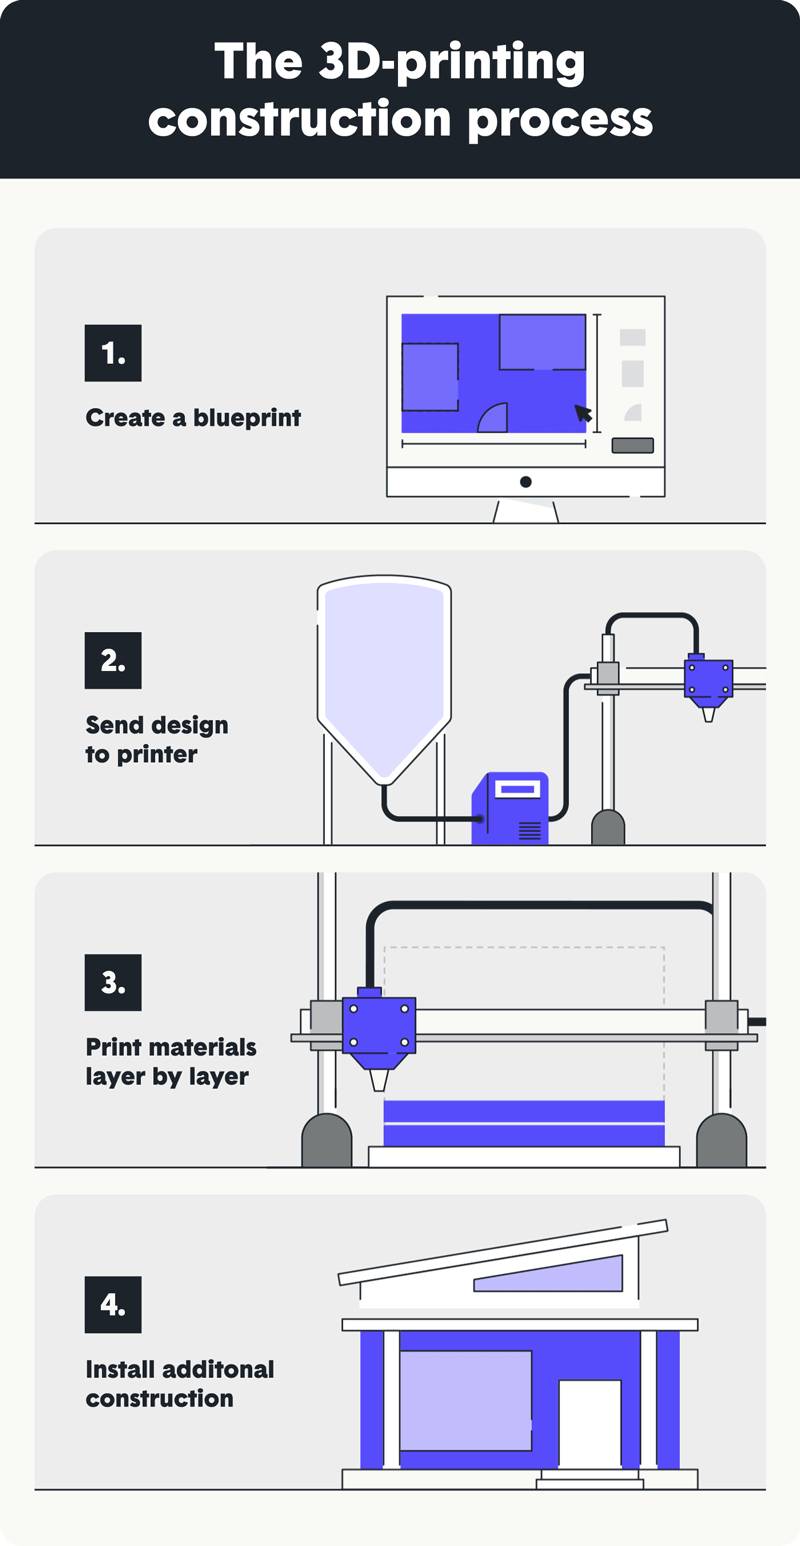
1. Create a blueprint
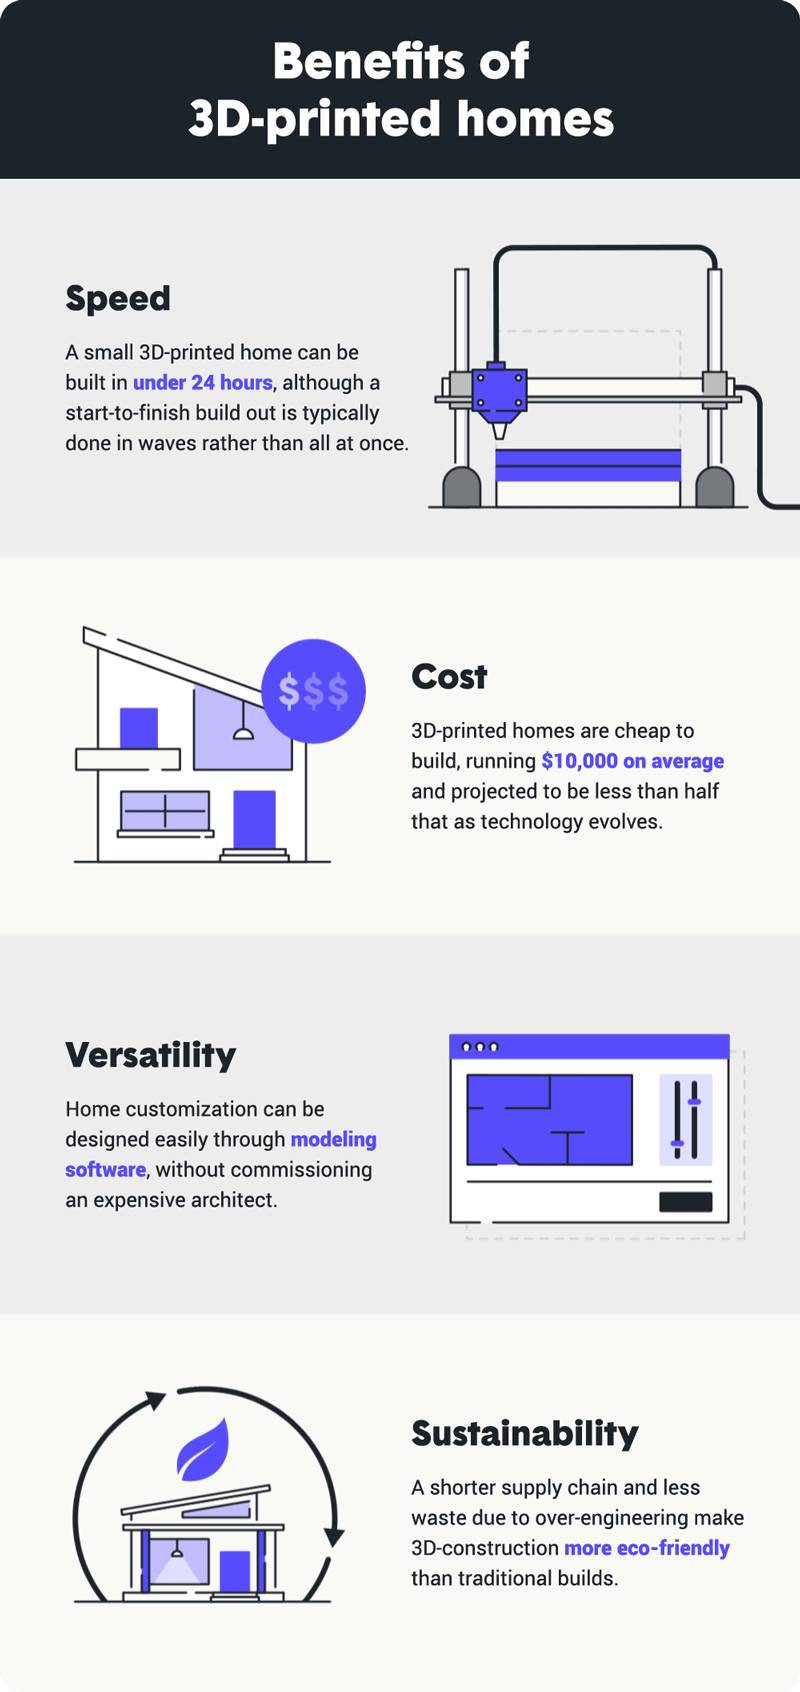
As with traditionally built houses, the first step in the 3D-home building process involves creating a blueprint. The house blueprint is designed through a modeling software program, where it can be easily customized to meet the homeowner’s needs.
2. Send design to printer
Once the blueprint is approved, the home builder sends the design to the 3D printer. This step in the process is known as preparation. Once the printer has processed the digital file, it’s time to prepare the build platform and fill the raw materials to get the project ready for execution.
3. Print materials layer by layer
Before printing begins, rails are installed around the building site to direct the robotic arm where to lay the paste-like build mixture–concrete is the most popular material used in 3D construction today. Once you press “print,” the printer works automatically to begin building.
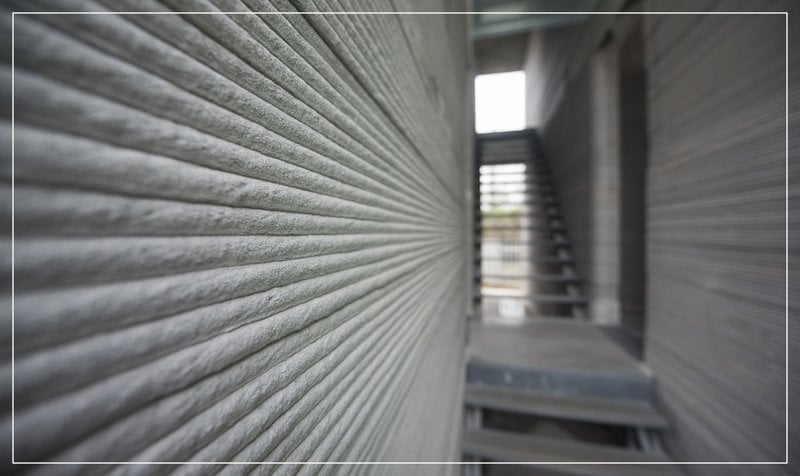
3D printers use additive manufacturing to print materials layer by layer. Material extrusion is the process where the printing material is heated and then squeezed out through the nozzle. A concrete dryer allows for the building material to solidify quickly, and then another layer is added.
4. Install additional construction
Today, the printing process described above only takes care of the home’s foundation and walls. Additional construction and human labor are still needed to finish the project.
Once the home has been printed and post-processing steps such as removing rails from the job site are completed, it’s time to add additional home features. Workers come to the construction site to install other pieces such as windows, doors, plumbing and electrical wiring to finish the project.


